Laser-cut Pendant Light Hanger
October 28, 2023
A few months ago I bought a pendant grow light on a whim. I've been wanting to add some additional light for some of my houseplants, and I liked the idea of having a pendant light hanging over some plants. The problem was I didn't really have a good place or way to put it up, so the light sat in the box for a few months.
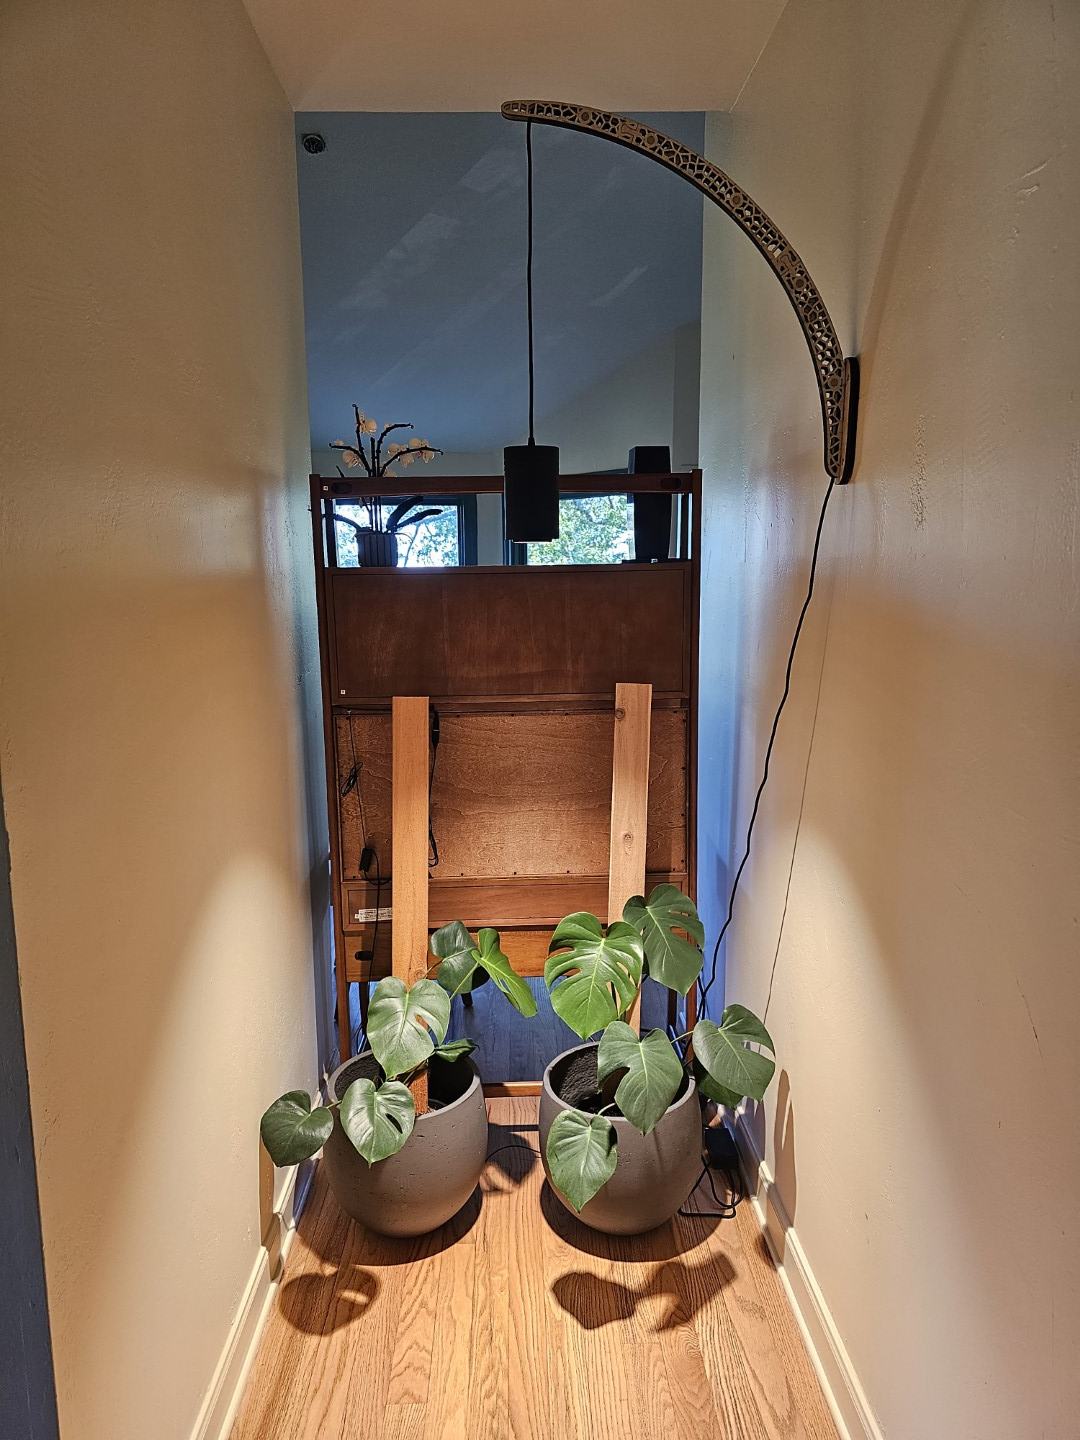
Recently, we came into possesion of my wife's childhood piano, which required some rearranging of our living room. One of the changes we decided to make was to put my wife's desk at the end of this little hallway between the fireplace and the kitchen. It's a weird hallway we never use, and from the front side of the desk it creates quite a nice place to sit. The problem was that we now had this strange little nook, visible right when you walked in the front door.
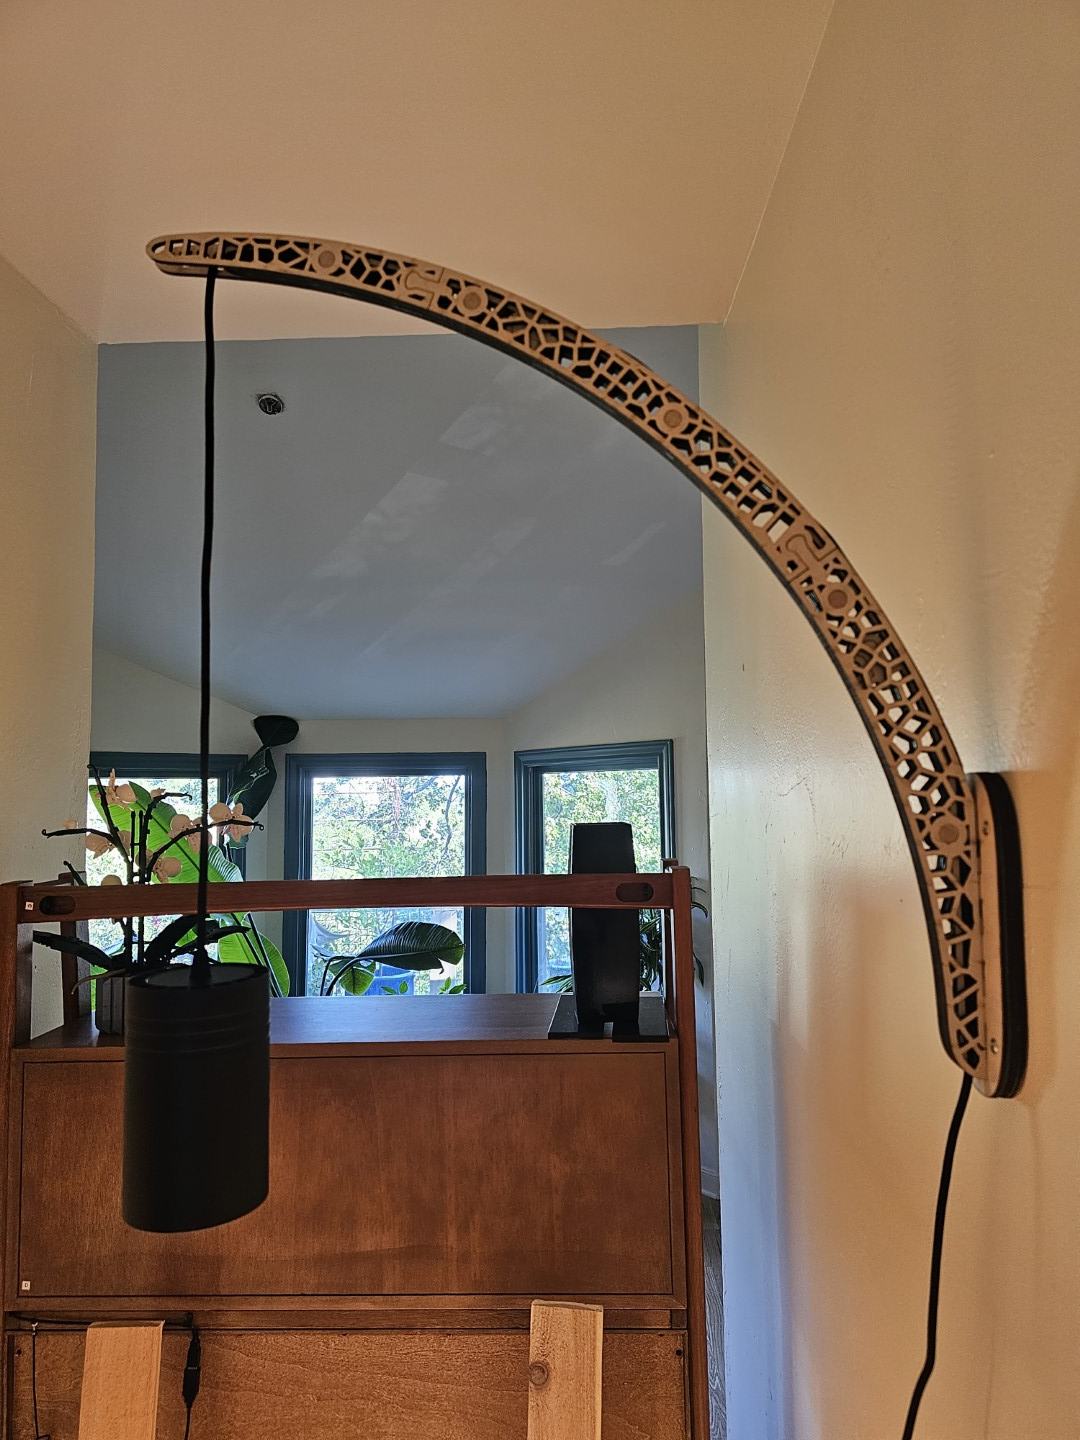
The perfect solution was to put some of my plants in this nook, and mount the grow light over them. This was easier said than done though, as I didn't like the hanging hardware that came with the light, and I didn't want to hang it from the ceiling. It also happens that I just purchased a laser cutter (I've been wanting one for ages). This gave me the perfect first project to try it out. The idea was to make an aesthetically pleasing mount that would hold the light away from the wall.
The Design Process
I tend to do all of my cad work programmatically. It's not the best or most efficient way to work, but I enjoy programming, and when you enjoy using a hammer, everything looks like a nail. 2D CAD is new to me, but I've been using OpenSCAD/SolidPython for a while, so I took Shapely and tacked it onto my existing workflow. It's not terrible, and I can run my script, and watch the 3D model and 2D sketches live update, so iteration is pretty seamless.
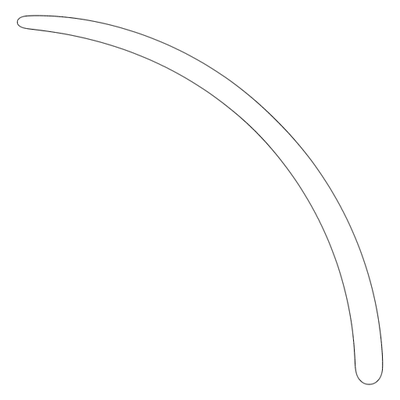
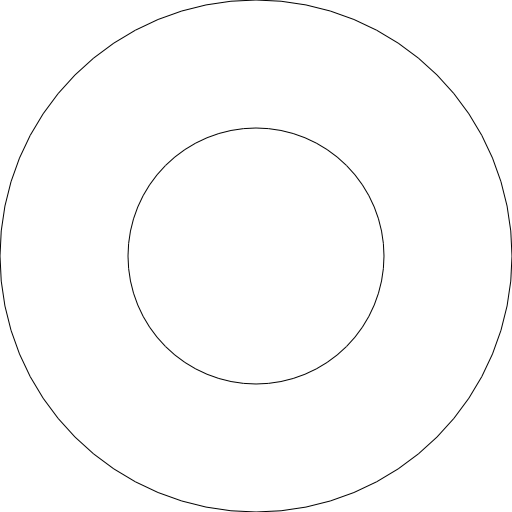
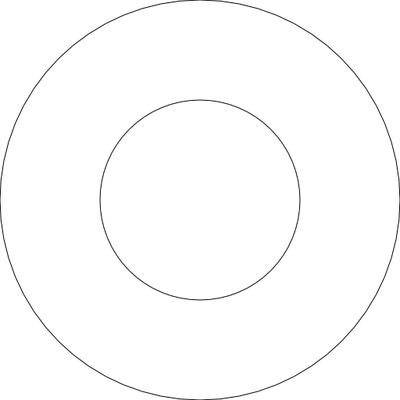
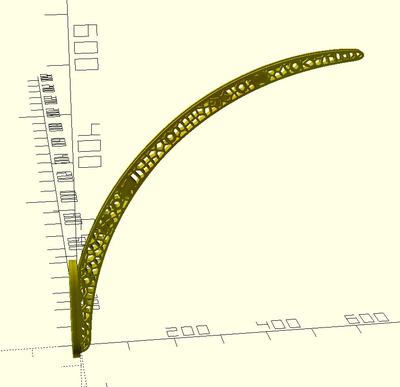
At the start, I knew I wanted an arch shape, so where better to start than with a quarter circle.
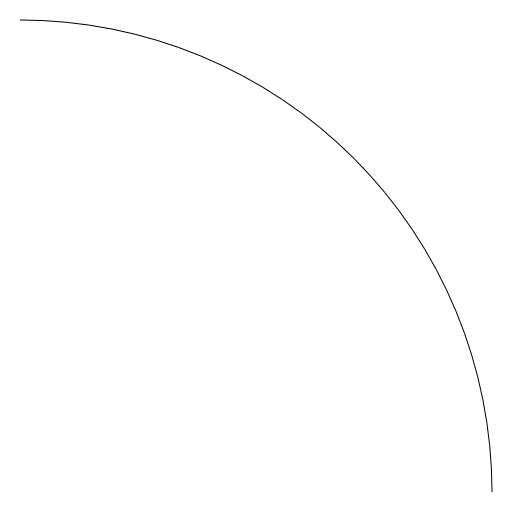

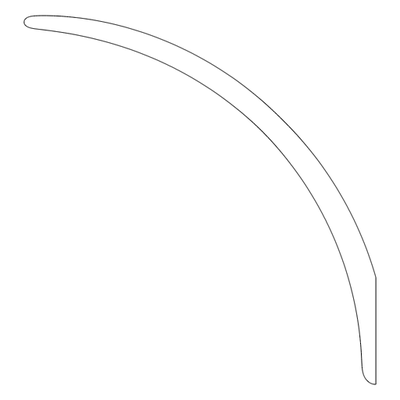
I wanted the arch to taper from the wall to the end, so I drew the line into a 1 channel 16 bit image (to reduce quantization errors), with high intensity at the start and low at the tip. I then applied a gaussian blur, and finally a threshold. Then I converted the bitmap to vectors, and I had my shape.


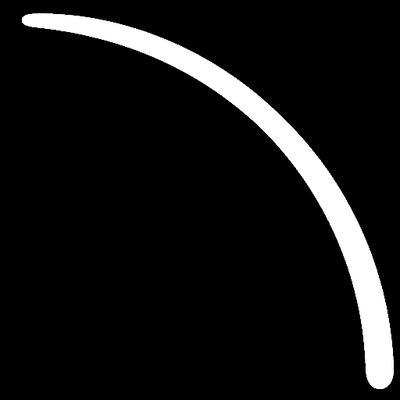

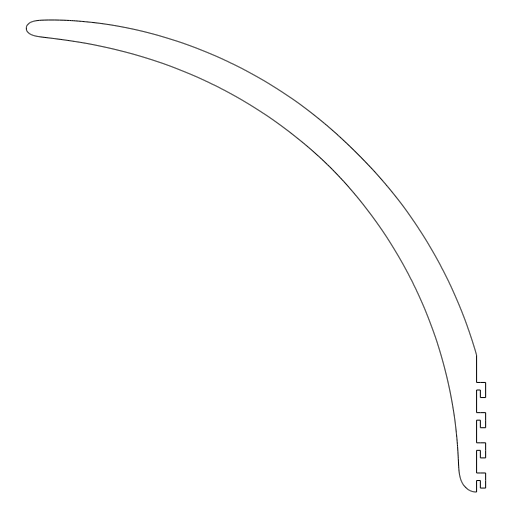
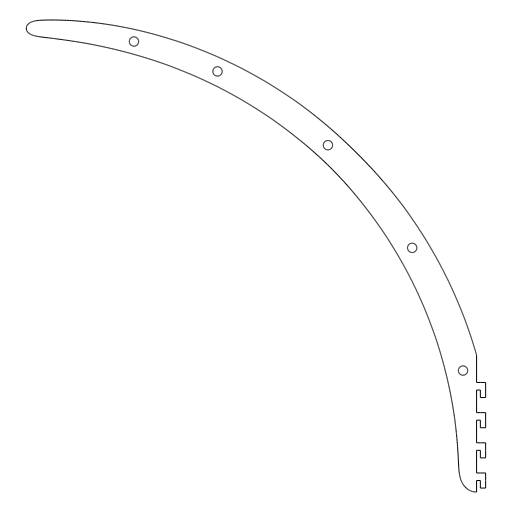
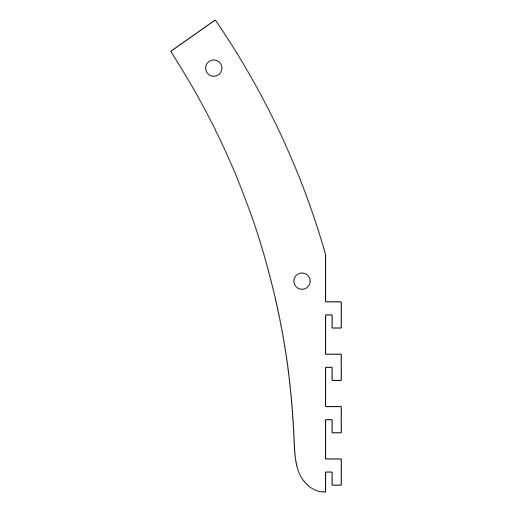
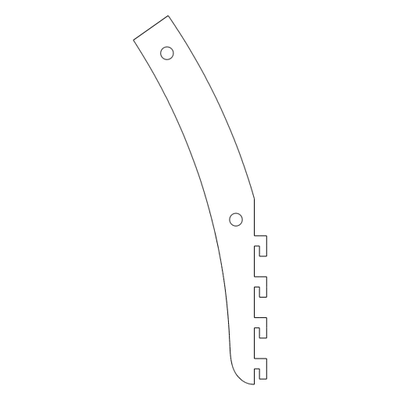
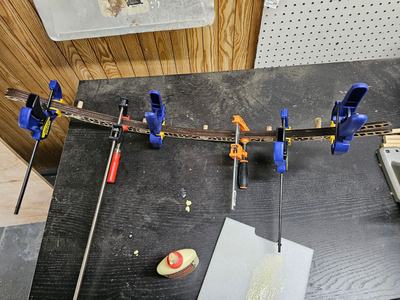
This got me the shape I was looking for. From there I could chop off the side that would go against the wall, and add the tabs that will join it to the part that attaches to the wall. I wanted the arch to be multiple layers thick, so I also added holes such that I could use dowels to align the layers during assembly.


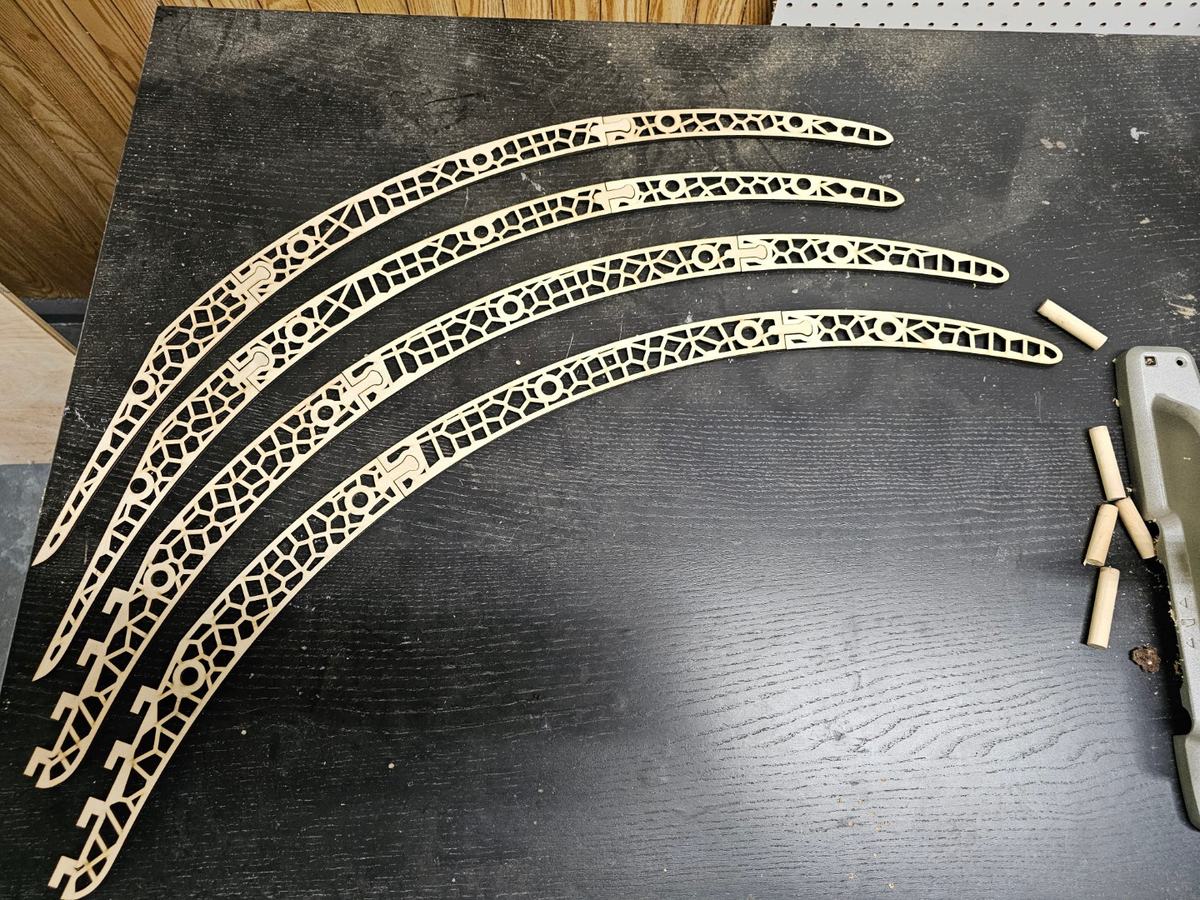
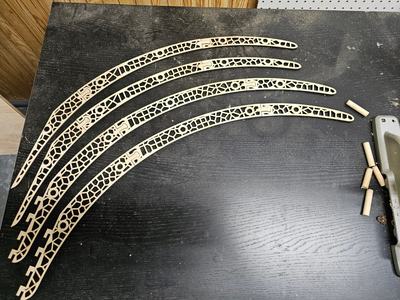
At this point I had the broad strokes of the arch complete. There was a bit of other nuance, like making the center two layers a bit thinner, to make a channel for the cable to run down, but nothing to complicated. The main issue at this point was that the arch was bigger than my laser cutter bed, so I needed to chop it into pieces that would assemble nicely. This was simple enough, and I broke the pieces at different places on different layers so that the joints would be staggered, and thus stronger.
Here I need to digress a bit and talk about the internal structure. I knew I wanted some kind of interior design on the pieces, but I wasn't quite sure what. I experimented around with various geometric patterns, and I implemented Jason Webb's Space Colonization, but I wasn't quite happy with how any of them looked on the arch. I then noticed an old experiment I had done in 2017 in the context of 3D modeling.
Here's the basic idea: Choose a random point in a containing polygon, and place a small grid of points with offset rows around it. Continue doing this some number of iterations. Then generate a voronoi diagram from the points. For each voronoi region, shrink the region by some amount to create negative and positive space.
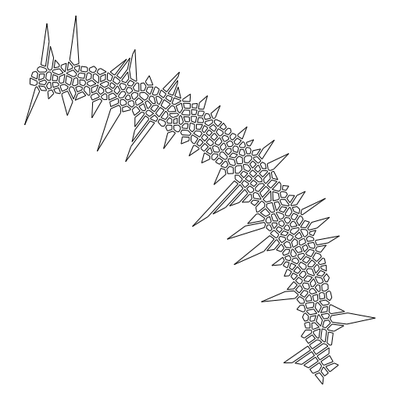
The effect ends up looking like an irregular honeycomb, and the irregularity can be controlled by the size of the grid of points applied each iteration. This might be a bit difficult to imagine, so here's a gif showing incremental iterations of the algorithm applied to a ring shape.
This ended up being exactly what I was looking for, so I generated the pattern for the arch:

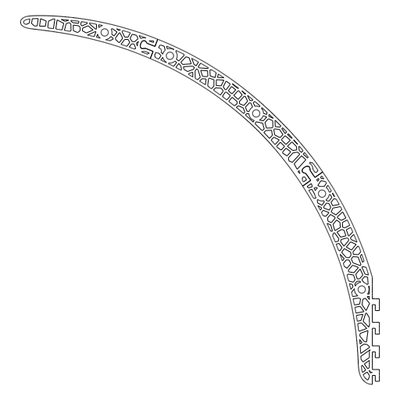
Now I needed to apply the pattern to the arch, while preserving the necessary structural elements. The steps I took are as follows:
- Erode the perimeter of the arch piece to create a "rim", that won't be modified by the pattern.
- Subtract the pattern from the arch piece, and then add the rim back.
- Add a connector piece which will attach the cut arch pieces together.
- Add the alignment holes back in, with some extra buffer around them that's not affected by the pattern.
- Remove any holes that are too small, to keep the look clean.


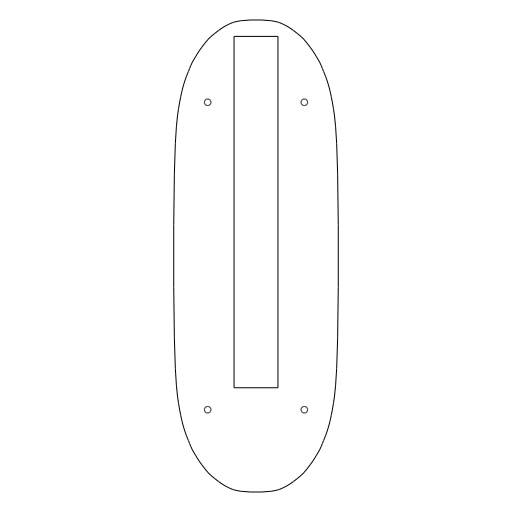
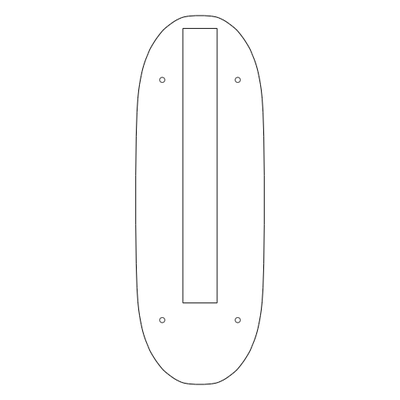
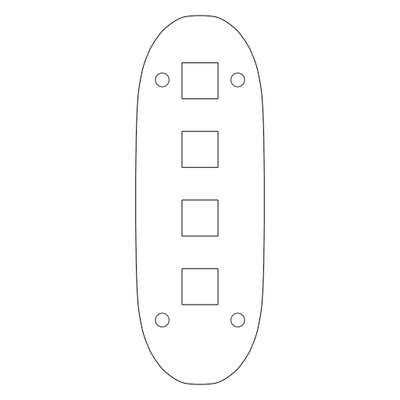
The last part is the wall plate, but it's pretty straightforward so I won't discuss it in detail. There's three plates, which stack on top of each other, one of which has slots for the tabs to attach to.

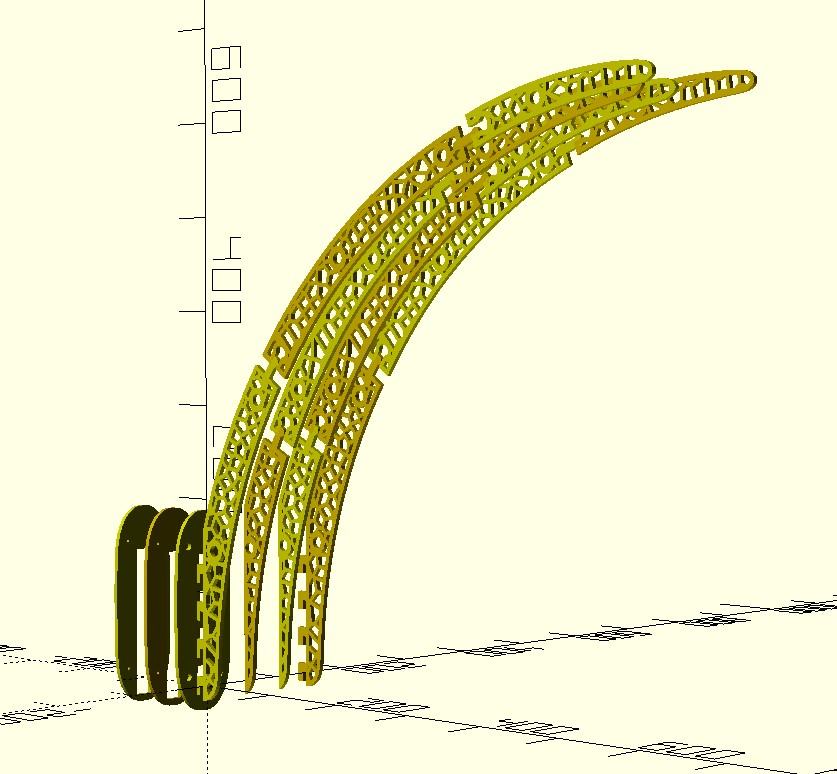
Through the entire design process, I've also got a 3D model live updating, so I can make sure all of the pieces are fitting together how I expect them to:


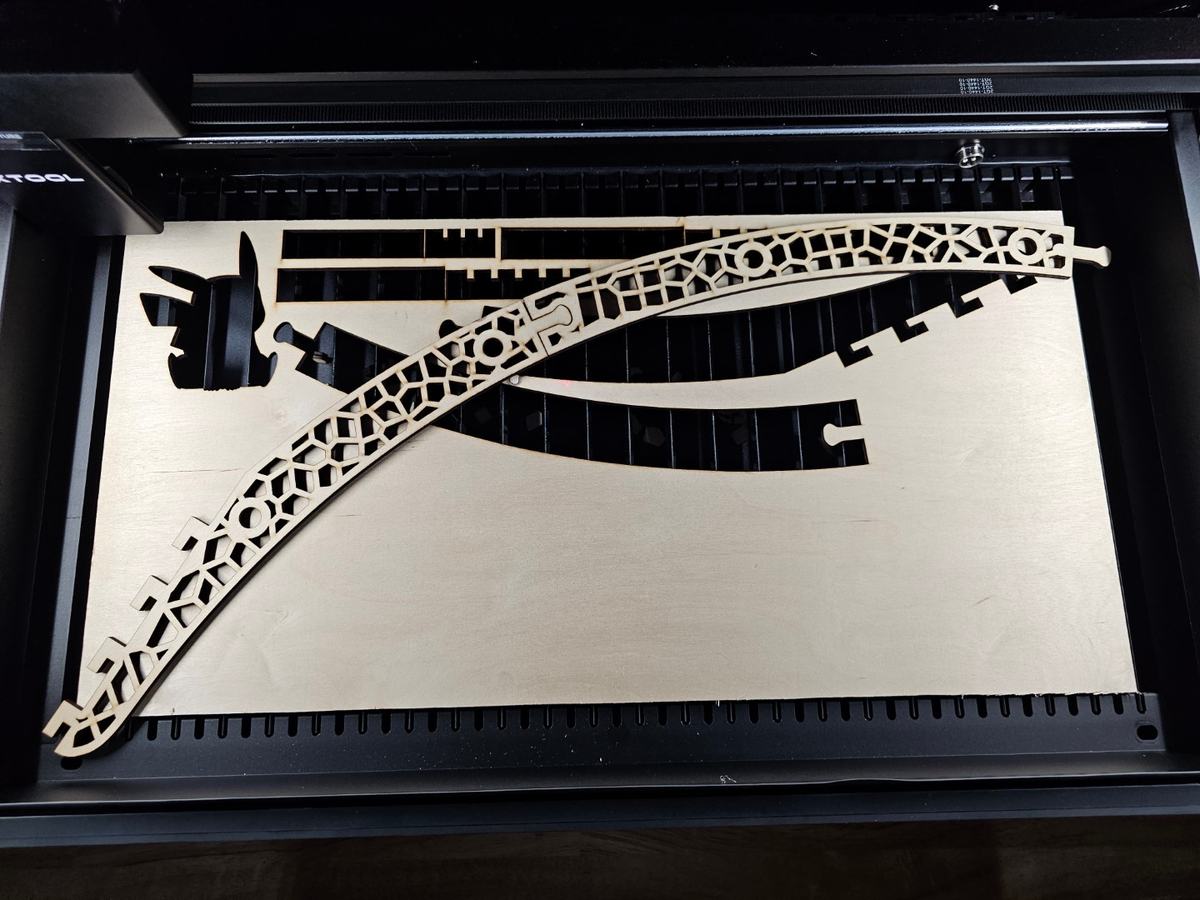
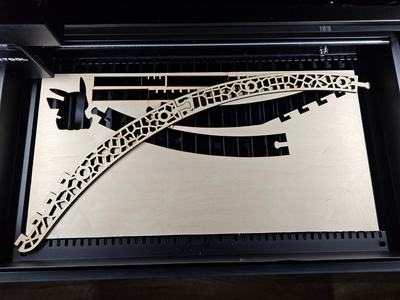
Laser cutting and assembly
I won't go into as much detail here, as this post is primarily about the design process, but cutting and assembling these parts was surprisingly straightforward. I used 1/8" birch plywood and the default settings for that wood on my machine, and I got beautiful cuts. These parts are slightly more time consuming to cut because of all of the internal sections, but coming from 3D printing it seems so fast. All 15 parts took less than an hour to cut.

I'm very happy with how it looks. I'm looking forward to these plants growing and filling out the space.